> ## Documentation Index
> Fetch the complete documentation index at: https://docs.beeswarm.app/llms.txt
> Use this file to discover all available pages before exploring further.
# Swap
> Exchange tokens directly through BeeSwarm, with automatic routing via PancakeSwap V2 and V3.
 ## What is Swap
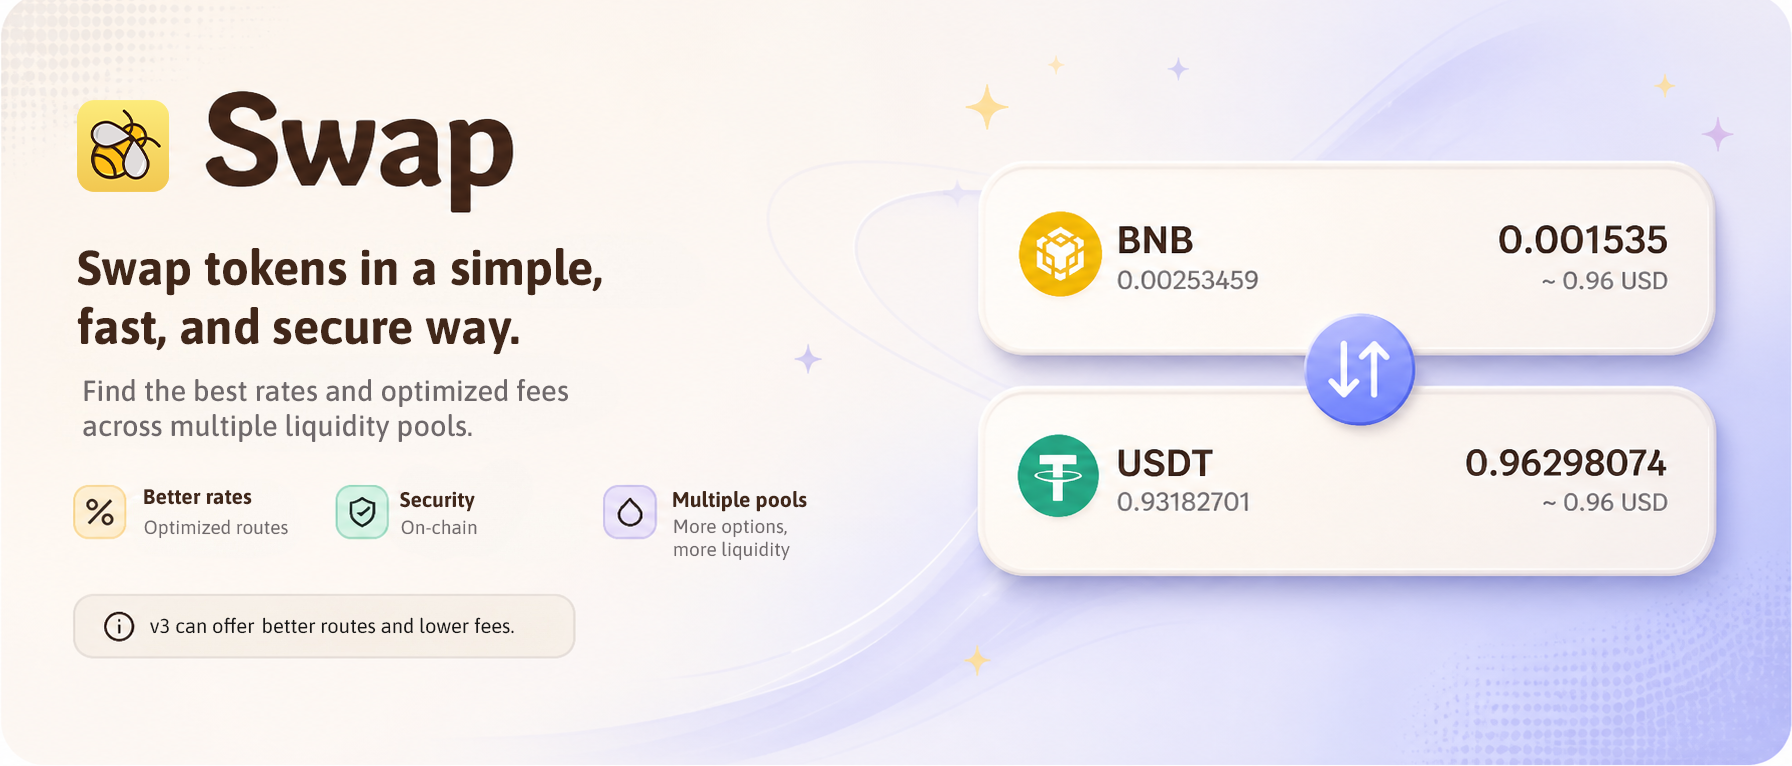
BeeSwarm has an integrated swap module that allows you to exchange tokens directly through the wallet, without leaving the app.
BeeSwarm **does not execute the swap directly**. Execution is handled by PancakeSwap's official contracts, the same ones used by their interface.
**Contracts used:**
| Contract | Address |
| --------------------- | -------------------------------------------- |
| Router V2 | `0x10ED43C718714eb63d5aA57B78B54704E256024E` |
| Universal Router V3 | `0xd9C500DfF816a1Da21A48A732d3498Bf09dc9AEB` |
| Permit2 (PancakeSwap) | `0x31c2F6fcFf4F8759b3Bd5Bf0e1084A055615c768` |
| QuoterV2 | `0xB048Bbc1Ee6b733FFfCFb9e9CeF7375518e25997` |
All contracts can be verified on [BscScan](https://bscscan.com) and checked in PancakeSwap's official documentation: [V2](https://developer.pancakeswap.finance/contracts/v2/addresses) and [V3](https://developer.pancakeswap.finance/contracts/v3/addresses).
***
## How to use
1. Access the swap through the wallet's main menu.
## What is Swap
BeeSwarm has an integrated swap module that allows you to exchange tokens directly through the wallet, without leaving the app.
BeeSwarm **does not execute the swap directly**. Execution is handled by PancakeSwap's official contracts, the same ones used by their interface.
**Contracts used:**
| Contract | Address |
| --------------------- | -------------------------------------------- |
| Router V2 | `0x10ED43C718714eb63d5aA57B78B54704E256024E` |
| Universal Router V3 | `0xd9C500DfF816a1Da21A48A732d3498Bf09dc9AEB` |
| Permit2 (PancakeSwap) | `0x31c2F6fcFf4F8759b3Bd5Bf0e1084A055615c768` |
| QuoterV2 | `0xB048Bbc1Ee6b733FFfCFb9e9CeF7375518e25997` |
All contracts can be verified on [BscScan](https://bscscan.com) and checked in PancakeSwap's official documentation: [V2](https://developer.pancakeswap.finance/contracts/v2/addresses) and [V3](https://developer.pancakeswap.finance/contracts/v3/addresses).
***
## How to use
1. Access the swap through the wallet's main menu.
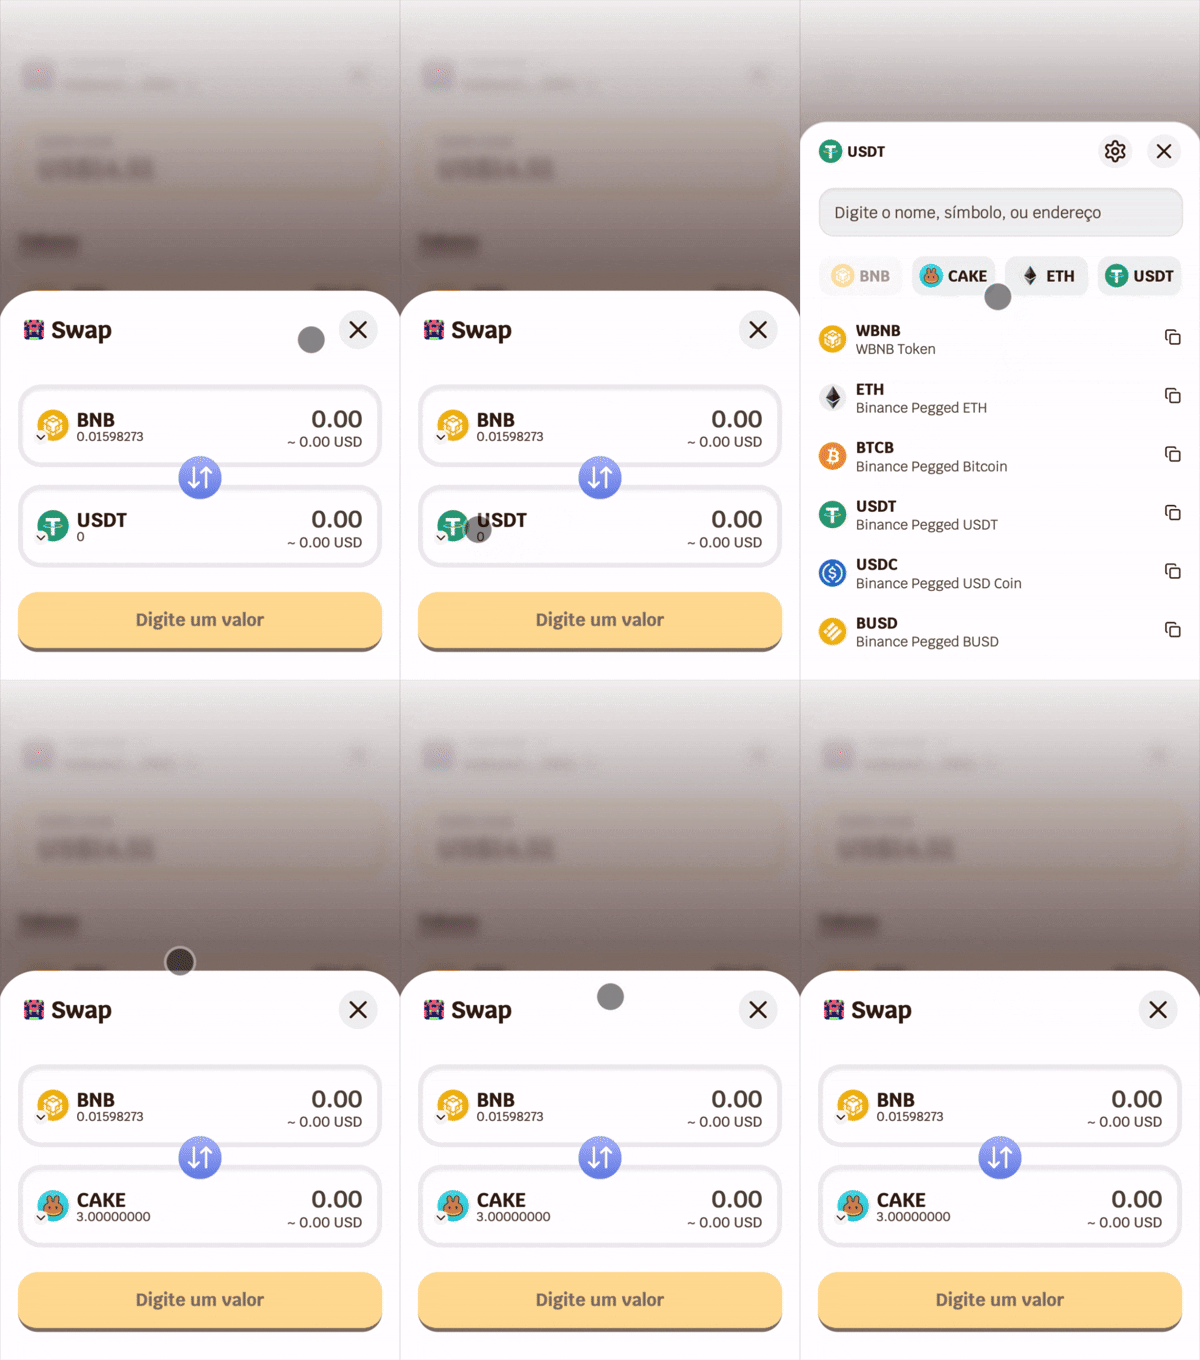
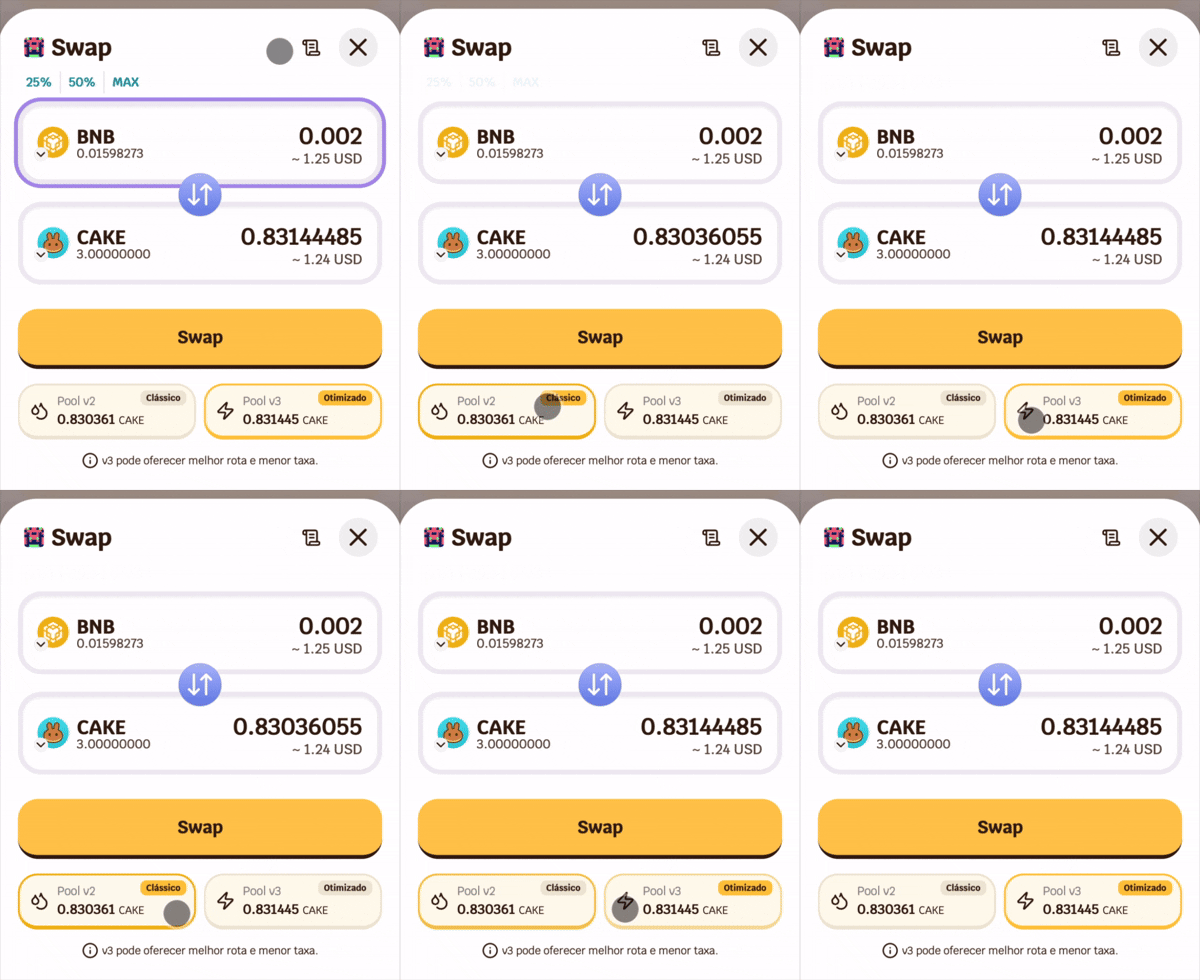
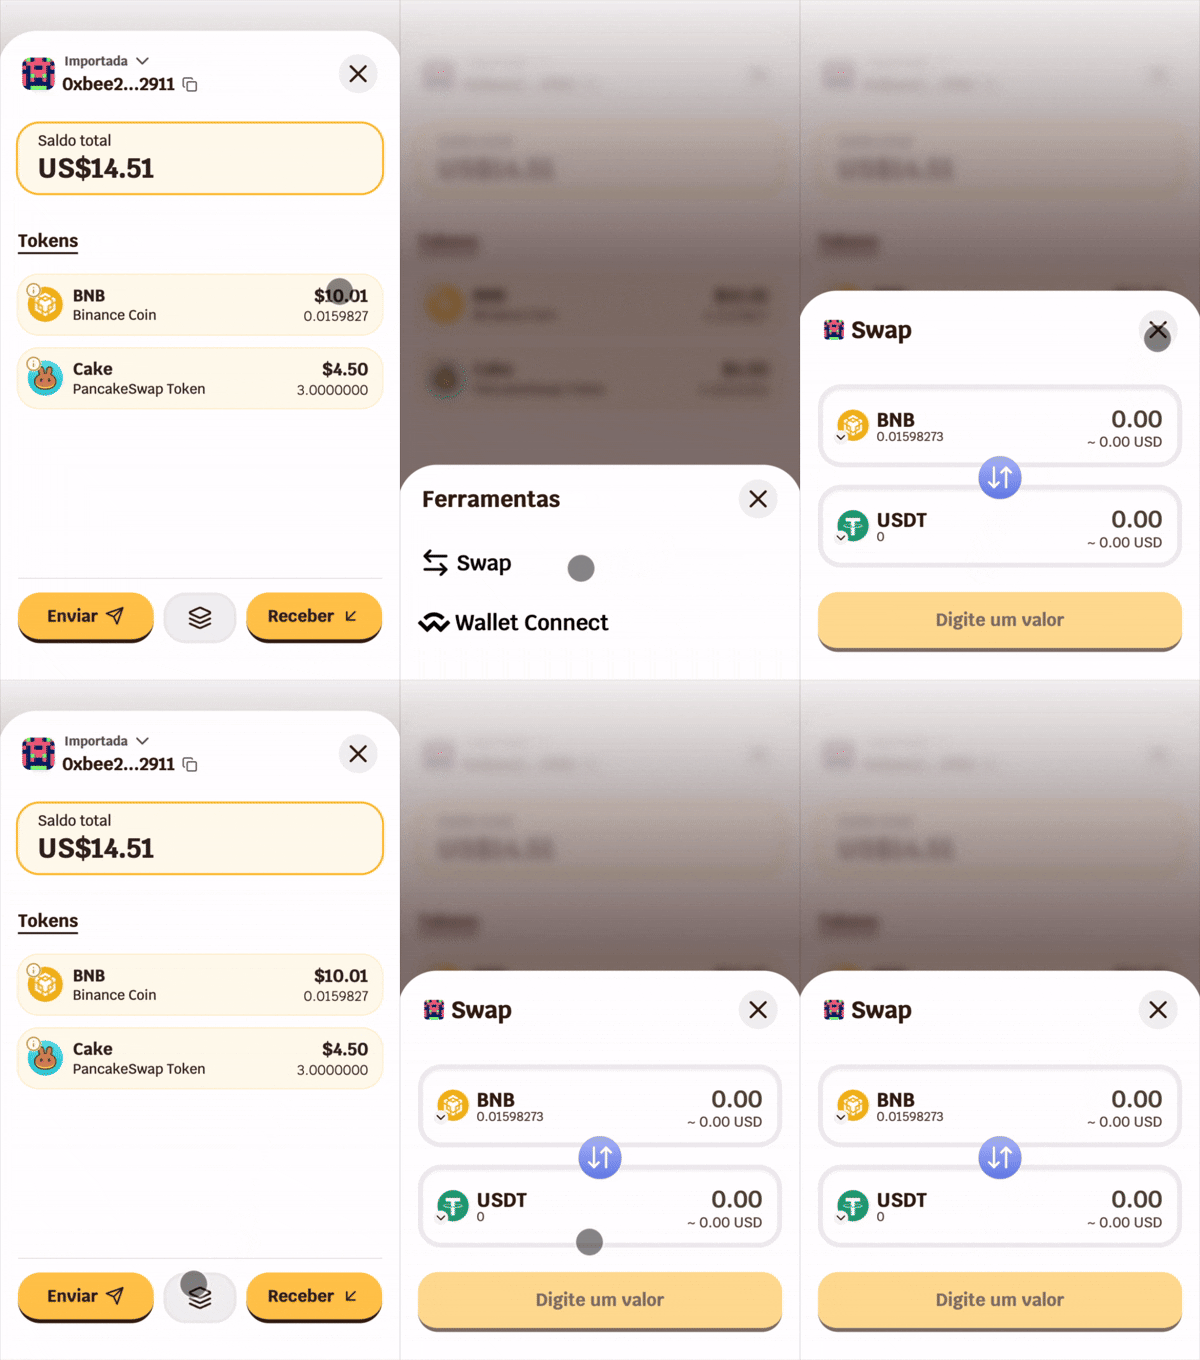 2. Select the source token and destination token.
 3. Enter the amount in the **"From"** or **"To"** field — the quote loads automatically.
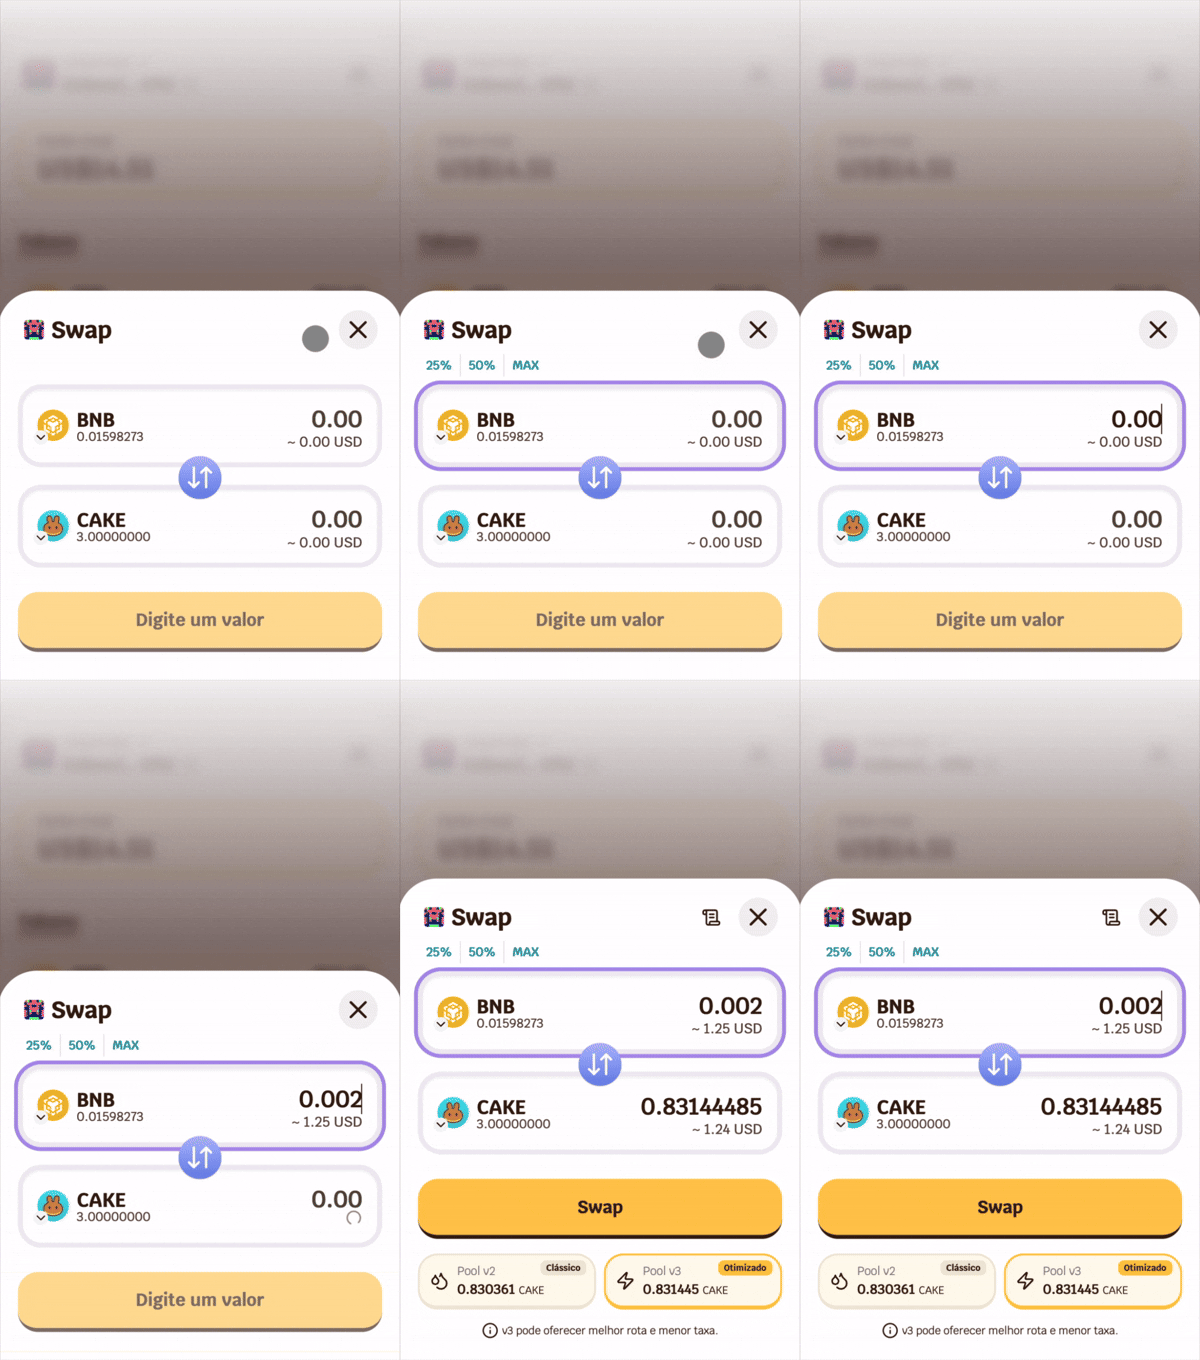 4. Choose the desired pool (V2 or V3) or let BeeSwarm automatically select the best one.
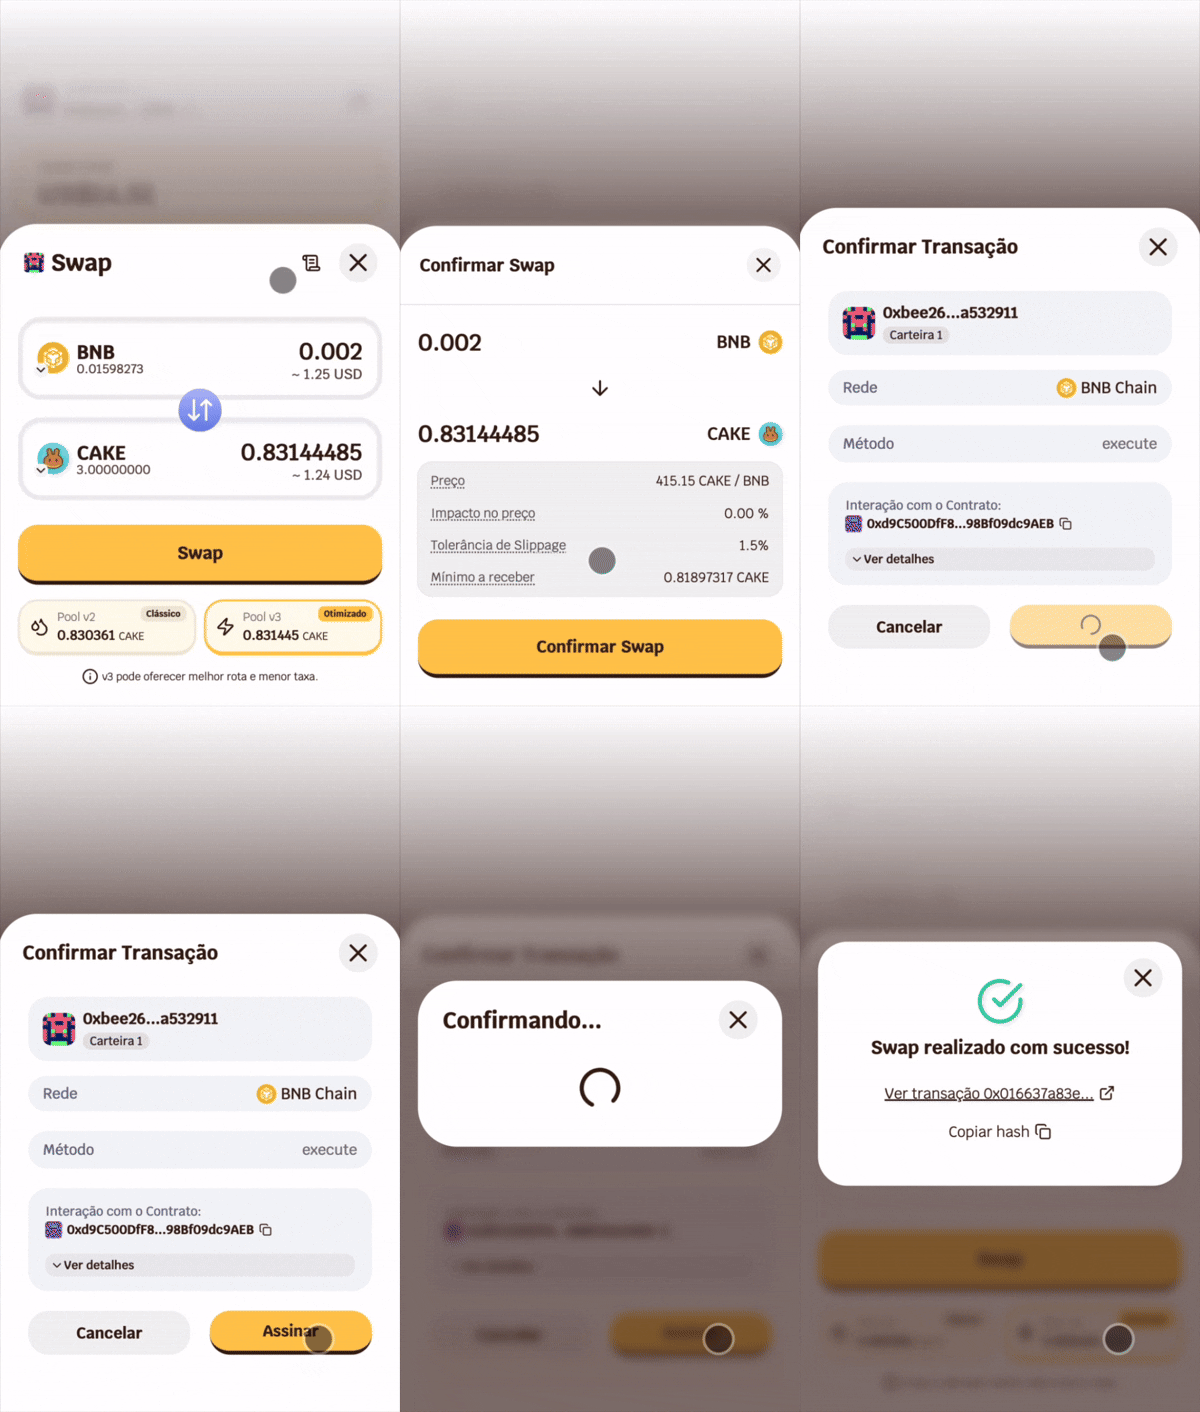
 5. Tap **Swap** and confirm with your password.
On compatible devices, confirmation can be done via biometrics or Face ID, without typing your password. Learn more at [Biometrics](/en/biometrics).
5. Tap **Swap** and confirm with your password.
On compatible devices, confirmation can be done via biometrics or Face ID, without typing your password. Learn more at [Biometrics](/en/biometrics).
 ***
## V2 and V3 Pools
When you enter a value, BeeSwarm simultaneously queries PancakeSwap's V2 and V3 pools and displays the results just below the input fields.
***
## V2 and V3 Pools
When you enter a value, BeeSwarm simultaneously queries PancakeSwap's V2 and V3 pools and displays the results just below the input fields.
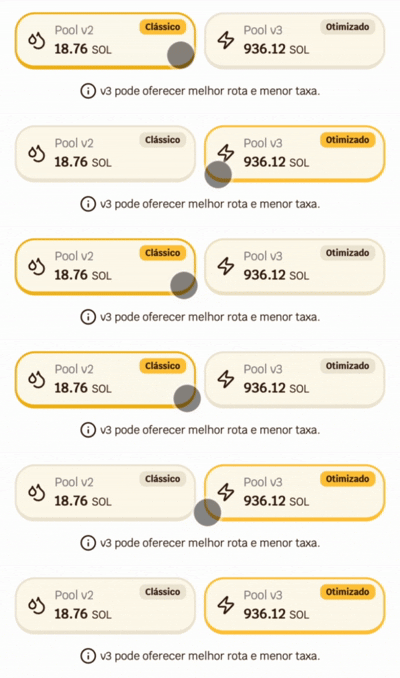 * If the pair only has liquidity on V2, only the V2 card will be shown.
* If both are available, you will see two cards and can choose which one to use.
BeeSwarm automatically selects the pool with the highest return. You can manually switch by tapping the corresponding card.
The V3 pool tends to offer better prices by using concentrated liquidity and fee tiers optimized by price range.
***
## Slippage
* If the pair only has liquidity on V2, only the V2 card will be shown.
* If both are available, you will see two cards and can choose which one to use.
BeeSwarm automatically selects the pool with the highest return. You can manually switch by tapping the corresponding card.
The V3 pool tends to offer better prices by using concentrated liquidity and fee tiers optimized by price range.
***
## Slippage
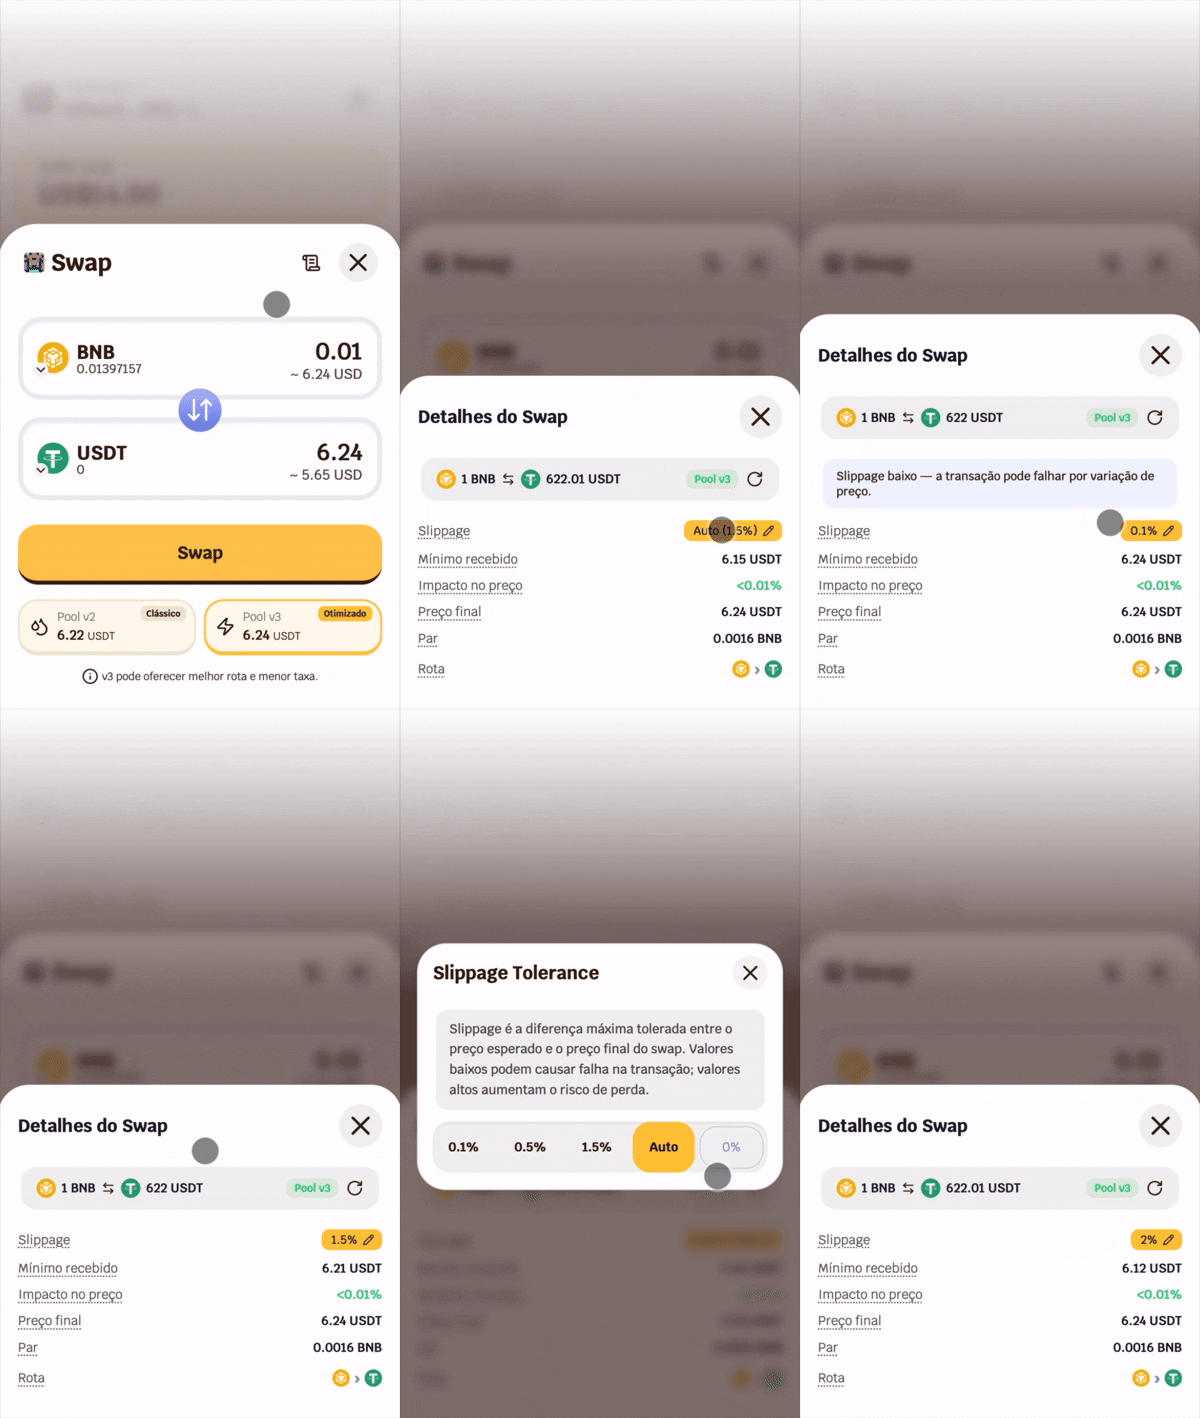 Slippage defines the maximum price variation accepted between the quote and execution. BeeSwarm automatically adjusts slippage based on the detected price impact.
You can also configure it manually by tapping the slippage value in the swap details. Available options:
* **0.1%** — ideal for stable pairs with high liquidity
* **0.5%** — general use
* **1.5%** — recommended default
* **Auto** — dynamically adjusted by BeeSwarm
* **Custom** — set the value manually
Slippage too low may cause the transaction to fail. Slippage too high increases the risk of receiving less than expected and exposure to frontrunning.
***
## Fee Tokens
Some tokens have fees embedded in the contract — known as *transfer fee* or *tax tokens*. These tokens charge a percentage on each transfer, which can cause the transaction to fail if the slippage is not sufficient to cover the fee.
BeeSwarm automatically identifies known fee tokens and adjusts the slippage to ensure the swap executes successfully.
The icon in the top right corner of the swap changes according to the detected risk level:
Slippage defines the maximum price variation accepted between the quote and execution. BeeSwarm automatically adjusts slippage based on the detected price impact.
You can also configure it manually by tapping the slippage value in the swap details. Available options:
* **0.1%** — ideal for stable pairs with high liquidity
* **0.5%** — general use
* **1.5%** — recommended default
* **Auto** — dynamically adjusted by BeeSwarm
* **Custom** — set the value manually
Slippage too low may cause the transaction to fail. Slippage too high increases the risk of receiving less than expected and exposure to frontrunning.
***
## Fee Tokens
Some tokens have fees embedded in the contract — known as *transfer fee* or *tax tokens*. These tokens charge a percentage on each transfer, which can cause the transaction to fail if the slippage is not sufficient to cover the fee.
BeeSwarm automatically identifies known fee tokens and adjusts the slippage to ensure the swap executes successfully.
The icon in the top right corner of the swap changes according to the detected risk level:
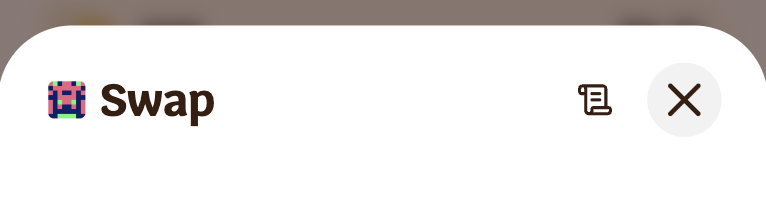 **Normal** — swap within expected parameters.
***
**Normal** — swap within expected parameters.
***
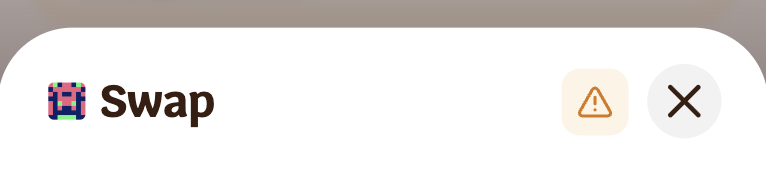 **Warning** — elevated slippage or price impact above expected.
***
**Warning** — elevated slippage or price impact above expected.
***
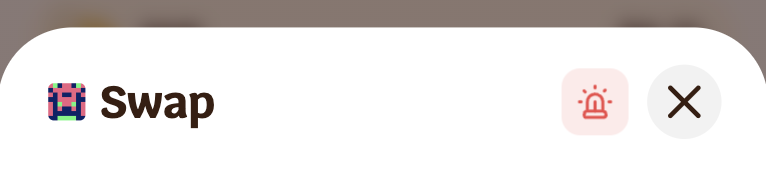 **High risk** — very high slippage or elevated price impact. Review the details before confirming.
Tap the icon to open the complete swap details.
***
## Route
**High risk** — very high slippage or elevated price impact. Review the details before confirming.
Tap the icon to open the complete swap details.
***
## Route
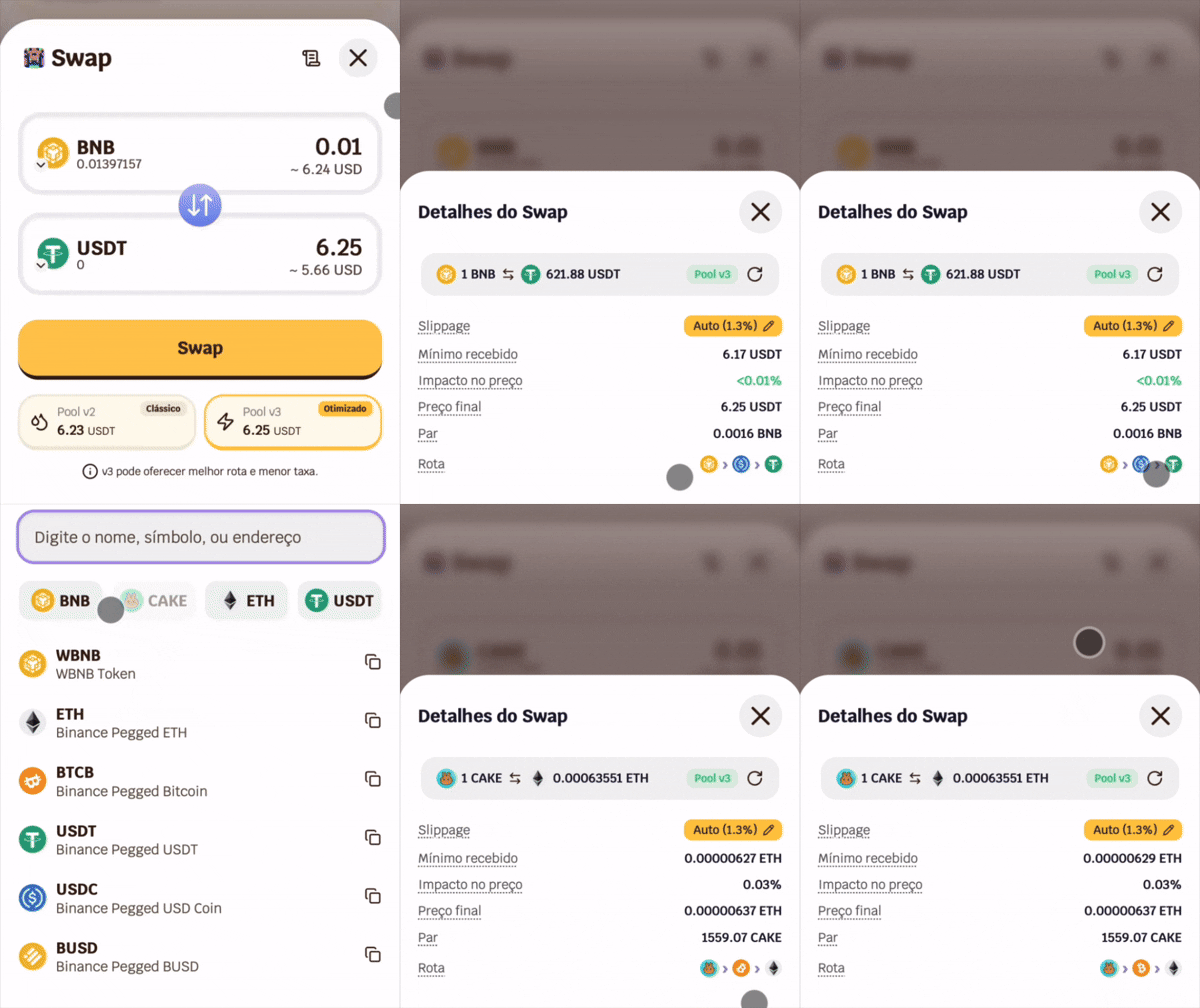 BeeSwarm automatically finds the best route between tokens. When there is no direct liquidity for the selected pair, the route goes through an intermediate token — for example, `ETH → WBNB → BCH`.
The route used is displayed in the swap details, with the logos of the tokens involved.
***
## Swap Details
Before confirming, tap the icon in the top right corner to see the complete information about the operation:
BeeSwarm automatically finds the best route between tokens. When there is no direct liquidity for the selected pair, the route goes through an intermediate token — for example, `ETH → WBNB → BCH`.
The route used is displayed in the swap details, with the logos of the tokens involved.
***
## Swap Details
Before confirming, tap the icon in the top right corner to see the complete information about the operation:
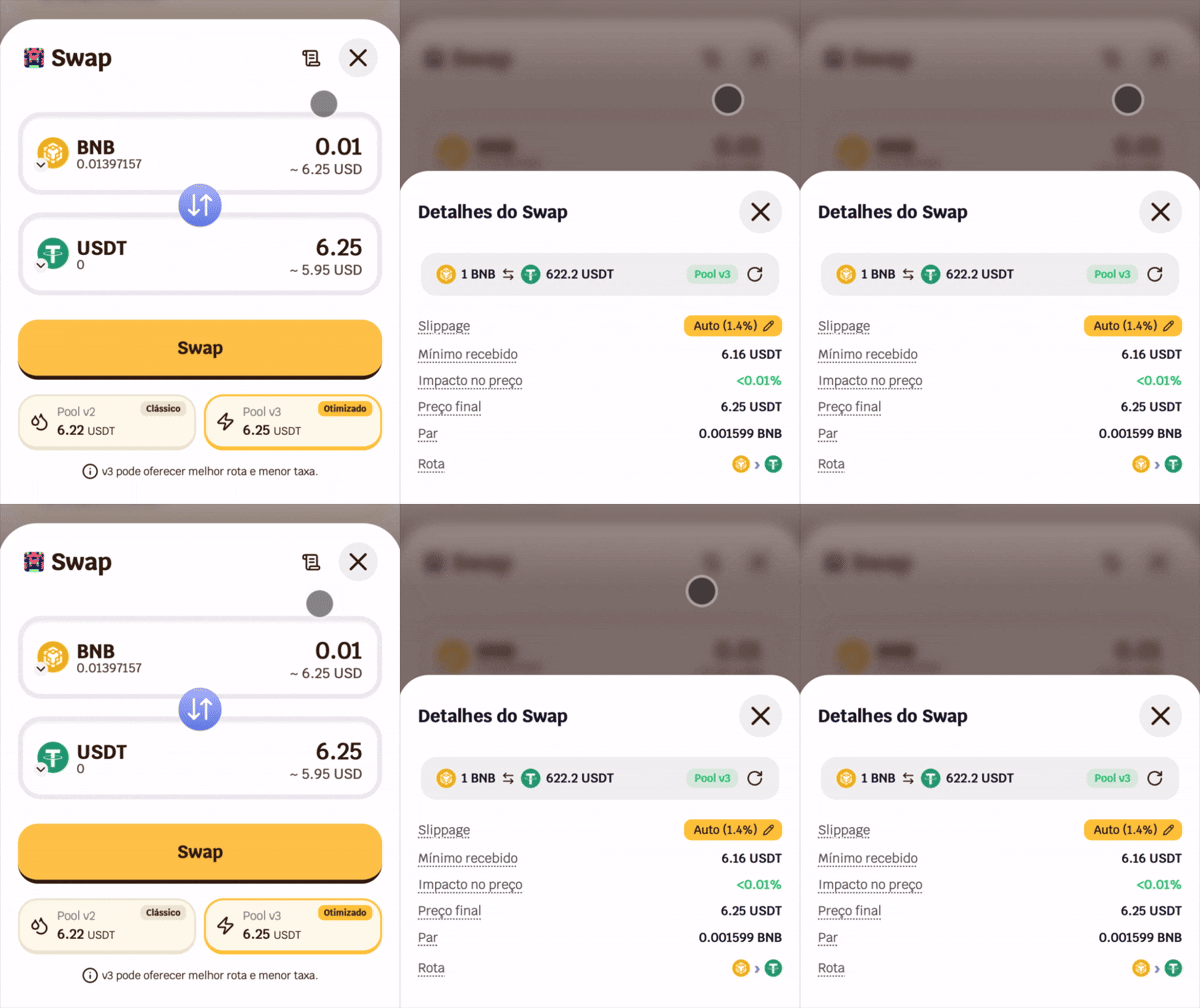 | Field | Description |
| ---------------- | ----------------------------------------- |
| Slippage | Configured tolerance |
| Minimum received | Minimum guaranteed amount after slippage |
| Price impact | Variation caused by your swap in the pool |
| Final price | Estimated output quote |
| Route | Path taken between tokens |
| Pool | V2 or V3 |
| Trading fee | 0.88% |
BeeSwarm charges a 0.88% fee per swap, automatically deducted from the transaction. This fee supports the development and maintenance of the platform.
| Field | Description |
| ---------------- | ----------------------------------------- |
| Slippage | Configured tolerance |
| Minimum received | Minimum guaranteed amount after slippage |
| Price impact | Variation caused by your swap in the pool |
| Final price | Estimated output quote |
| Route | Path taken between tokens |
| Pool | V2 or V3 |
| Trading fee | 0.88% |
BeeSwarm charges a 0.88% fee per swap, automatically deducted from the transaction. This fee supports the development and maintenance of the platform.